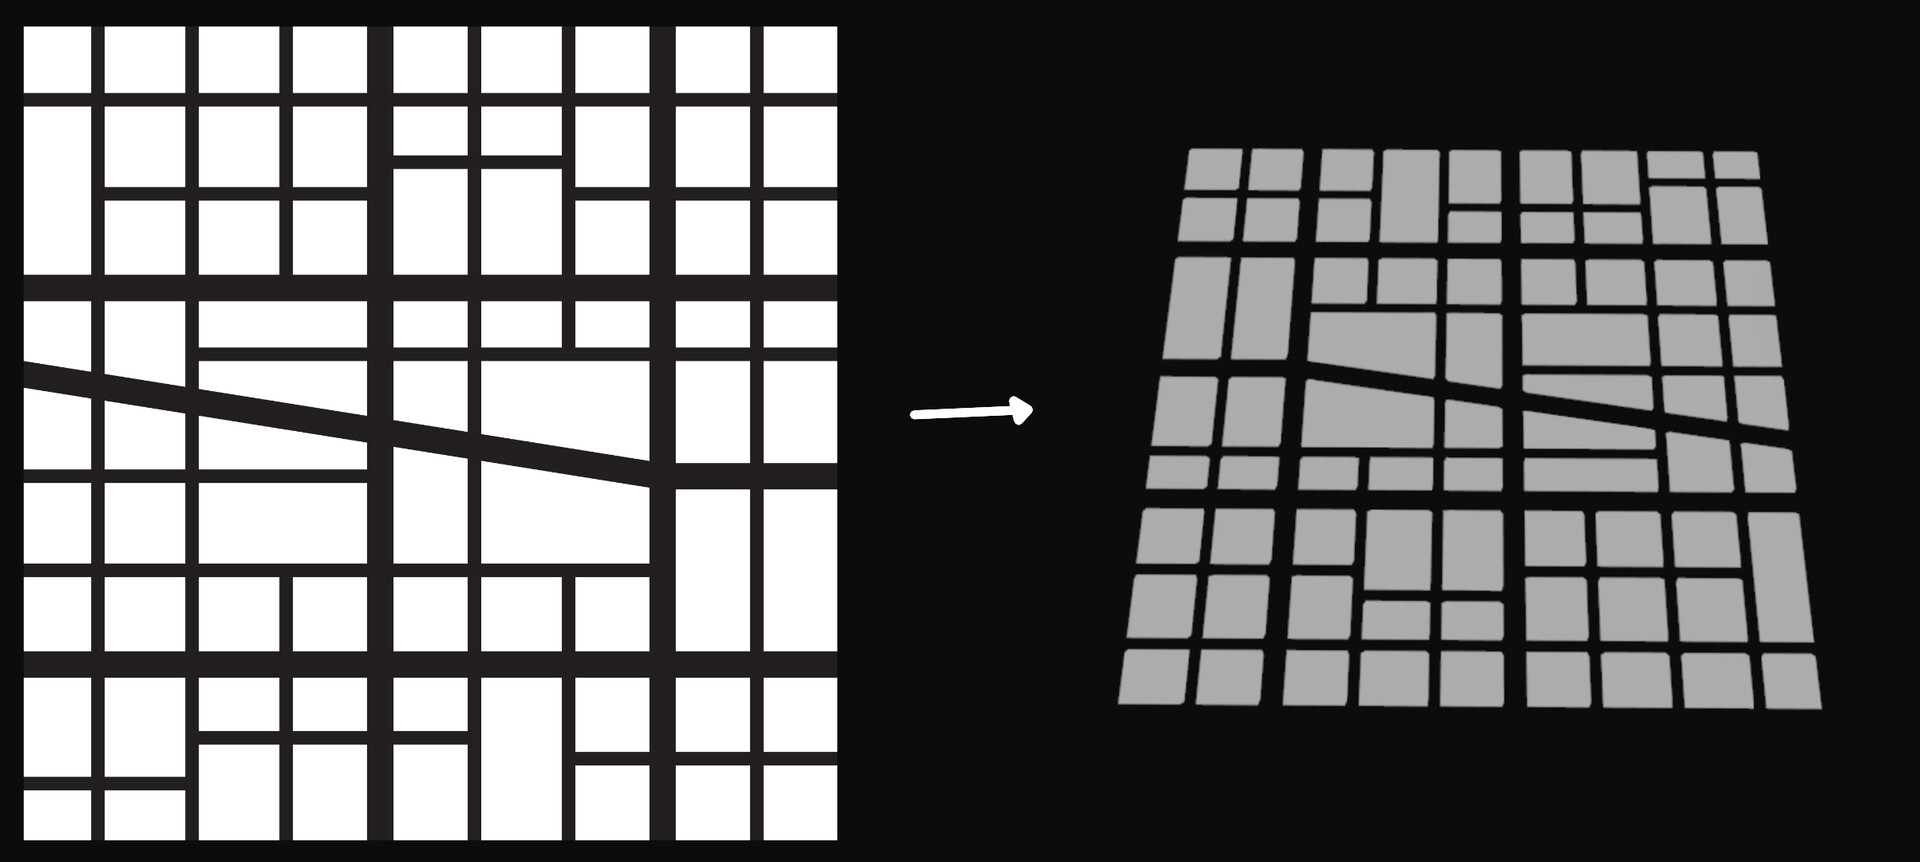
This week in the blog post I will continue to build on the City generator/Builder. In last post of the city builder I talked about how an image can make the layout and place building for you.
In this post I decided to change that system a bit. I started to experiment more with what I could use as input for the City.
As result I build in the tool that you now can use unreal Engine boxes that you can use as input. I found this a lot more fun to work with.
I could blockout out a simple layout with cubes in Unreal Engine and the Houdini tool will build a City out of it.
Here is a small Video on it.
From Boxes to buildings
As some of you already know from previous blog posts the buildings are pre-baked with the building generator. So this takes away the difficult part of generating a building and now I need to replace the box with a pre-baked building.
First step with the system is to use a Object Merge node and expose the object parameter, that way you can in Unreal engine assign cubes to the tool.
To test it in Houdini, just place around some basic cubes. Then each cube will need to represent one point to copy buildings on.
Take a group node and use the by normal feature. Then fill in -1 in the Y so all the primitives that are looking down are selected.
These primitives are then used to get a middle point. (Similar like previous post where you could do the same with the layout for the image.) What you do is you use a for each loop and loop over each primitive. In the loop you use a fuse and set it on a high value like 100. (and disable Remove Repeated Vertices in the fuse)
This will result in getting the middle point of the primitive. In that point you could also store the Bounding box size of the original cubes. This value is then used to scale the pre-baked Houses. So if the box is 2 in height then is save that info in scale attribute and when doing a copy to points it will recognize the scale attribute with height 2. (Other mention to Blog 28, in there is a better breakdown on saving the box size in the points :) )
Gif is a small overview on how it is done.
Next steps is using the Copy to points with the buildings (with pack and instance enabled). This results then in the boxes being replaced by the Houses.
Adding basic details
Further you can use the input boxes to copy details on it or to add details between Houses.
Starting with the bottom primitives of the input boxes. Those primitives will then be resampled, this will create new points that are equal placed along the primitive. After the resample you can add normals on these points by using the polyframe sop. In tangent name fill in N.
Last thing to do is removing the corner points, this is something that I prefer so models are not copied on the corners.
Photo shows a breakdown of creating points to copy models on.
Removing the corner points can be done with a pointcloud. Place down a wrangle node and first input is the primitives with resample on them, second input is the bottom primitives.
And what the pointcloud will be doing is that it will look for points in a radius. That means that you can compare input 1 and 2 from the wrangle, so only at the corners a pointcloud will see points from the other input.
int pcloud = pcopen(1, "P", @P, ch("range"), 10); //creating the pointcloud and expose the radius

if(pcnumfound(pcloud)>ch("amount_points")) //looking in the pointcloud to see how many point there are
{
    removepoint(0, @ptnum); //delete point if more then "amount_points"
}
Once having the points you could use these to copy models on. I have to say that this is still experimental, so it might change but for the moment it is decent,
In the image here there are 3 modular pieces copied over the points of the resample. In Unreal Engine you can add as many new slots to distribute new models on the points.
That was it for this week.
There is still a lot to explore with the generator and I'm curios in what direction it is going.
See you on the next one and feel free to share feedback or thoughts.